Monday, February 28, 2011

Speaking of hair.....which hair color do you like better?

Since I can remember I have been coloring my hair.

I HATE my natural color. It's ugly.

I have mentioned before that my sister does hair and so I am always doing something new with my color. I always go back and forth with a rich brown color or more of a very light brown with blonde highlights.

This is my current color. I just did this about 2 weeks ago and I like it, but I haven't been this dark for a very long time. So it has taken some time to get used to it.

This picture was taken 2 years ago. I went really light and short. I have never had shorter hair than this and I really liked it at the time, but it forced me to actually do my hair because it was too short for a pony tail. :)


This was the day my hubby proposed to me! He prefers my hair this way, but I think it looks like I have stripes. I like the length of my hair here, but for the life of me I CAN'T grow my hair out. It's like impossible. I had super long hair in high school, then I chopped it off, from that point forward I have never been able to grow it out longer than this picture!
So what one do you like the best?

Saturday, February 26, 2011

St. Patrick's Day Crafts


Last year I made a few St. Patrick's Day crafts and I just wanted to share them again in case you are still looking for something festive to make for March. :)


So I decided I shouldn't just skip right over St. Patrick's Day and go straight to spring (although, I am sooo ready for spring!!!) I made this "lucky" board! It is a lot like my "be mine" board, but for St. Patrick's Day. I really do like St. Patrick's Day, but I have never really decorated for it. So here it goes! I call it my "lucky board" ...pretty original huh? :)

You can find the tutorial here


This is my Shamrock Tree. I think I'm obsessed with trees. Scratch that, I KNOW I'm obsessed with them. I can't get enough of them. :) If you want to make this project you can find the tutorial here.


Here are a few projects from other crafters that are great for St. Patrick's Day

This onesie is so darn cute! You can find the tutorial here.


There are so many free printables going around and I thought this one was really cute! You can find it here.


Lastly, I love everything going on in this mantle! How fun and festive! You can find it here.


I hope I gave you a little inspiration to make your home festive for the upcoming Holiday!

Have a good weekend everyone, see you all Monday!

Friday, February 25, 2011

Favorite Things Friday: Linky party

Happy Friday Everyone! I love friday, don't you? I love friday for three reasons.
1. I have no school
2. It's the weekend and I get to spend time with my hubby, who I hardly see during the week!
3. I get to host another linky party! :)

I am excited for another day of Favorites! I was pleasantly surprised to get 14 links last week. Some may say that I'm a total loser and that 14 is nothing, but I thought it was awesome and was super happy that I had more than 1! :) So thank you!

Time for another linky party! Link your recipes, crafts, and favorite products.

Rules:

1. Comment on at least one other link. Share the comment love!
2. Link back to my page.


InspiringCreations


Here are a few highlights from last weeks party:

Doreen, from Altered Artworks shows lots of projects using vintage paper!


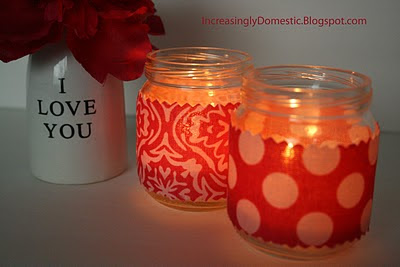
Amy over at Increasingly Domestic made these awesome up-cycled baby jar lights!

I hope you all have a wonderful weekend!

I was thinking it would be great to have some sponsors for my linky party every friday. If you are interested email me at [email protected]


Thursday, February 24, 2011

Which hair style do you like better?

Okay, I need you all to help me settle a dispute I'm having with the hubby. Charlie has enough hair now that we can actually style it. Well the hubby HATES when I spike his hair into a faux hawk. He would much rather it be combed to the side or not have it done at all.

So I need your opinions:

Spiked up


Or combed to the side

So I am leaving it up to you guys. Tell me which one you like better!


Wednesday, February 23, 2011

Ruffled Shamrock Shirt


I decided to pull out my sewing machine the other day. Whenever I do this I almost always regret it. Sewing just doesn't come naturally to me. You might laugh at this, but I had no idea how to make a ruffle until a week ago! It wasn't until this video tutorial that I finally found enough courage to try it out! To tell you the truth--it wasn't hard at all. I was actually pretty surprised that a ruffle could be that easy.

So I have been hard at work making ruffles. I made Hannah a ruffled heart shirt for Valentine's Day. It was so easy I decided to try my hand at a Shamrock ruffled shirt. It took a lot longer than I had expected, but I eventually got through it. I am having a hard time making my ruffles all look the same. Some of them are really tight, and others are not as tight.

Anyways, since I made Hannah this shirt, I had to make Charlie a little onsie to match. Don't worry his is NOT ruffled! :) His is just appliqued.


I am afraid to say that I may be addicted to ruffles!

I am participating in

Tuesday, February 22, 2011

Food For Thought Tuesday: Shredded Beef Enchiladas

Before I share my recipe for the week, I wanted to thank those of you who linked up to my linky party! :) You guys are awesome and so creative! I left each of you a comment and thought your crafts were great! If you didn't have a chance to link, you still have a couple days left! So link up! Anyways, on to my recipe of the week.

I made a special Valentine's Day dinner for my hubby and it was delicious! I LOVE mexican food. Whenever we go out, we ALWAYS go to our favorite mexican restaurant, Joe Bandidos. I also love cooking mexican food at home. So when I was trying to decide what to cook for Valentine's Day, I knew my hubby would love these enchiladas!


It was one of those meals that took all day to prepare, but it was worth it. This is my grandmother's recipe and it was my first time making it. It was pretty easy, just time consuming. I have never "soft fried" tortillas before, so that was a new experience. I also did not have to use any cornstarch to thicken my sauce. To go with the enchiladas I made spanish rice and a special raspberry slushy drink, they were both delicious. Those recipes will be coming soon.

Linking to:

Friday, February 18, 2011

Favorite Things Friday Linky Party!

It's finally here! My first ever linky party!

Link up anything from your favorite craft this week, recipe, or a product you love!
**Remember to link to your specific post, not your home page!

I only have 2 rules:

1. Comment on at least 1 other link.
2. Link back to my page using a link or my button.

Now, be a friend and link up, so I don't feel like a total dorkwad! :)


InspiringCreations


Wednesday, February 16, 2011

Thoughts on comments...

When I decided to start blogging more at the first of the year I also had a goal of COMMENTING more. I don't know why, but I am terrible when it comes to leaving comments. I read a TON of blogs and I never leave comments. I know I'm not the only one out there that does the same thing!

Who doesn't love getting comments? I LOVE getting comments, and I always feel like a loser when no one comments on my blog! :) So when I was making my New Year's Resolutions for blogging, I realized that I needed to make it a goal to comment way more.

It makes my day when I get a comment and I think most people feel the same way. So the past few weeks I have been trying to comment on every blog post that I read. It is HARD to remember to do that because I'm so used to not leaving comments, but I am getting used to it.

I feel like the craft blog community has grown sooo much in the past year and the competition is FIERCE! I am a competitive person, but I have realized that blogging shouldn't be a competition. I have had to completely change the way I feel about blogging, and this has helped me tremendously. I have actually really enjoyed blogging more since I have made the decision to not make it a competition.

So I really want to challenge anyone that has read this, to start commenting more on the blogs you read. By doing this, I have realized that I love leaving people comments because if they feel the same way I do, then I just made their day! :)


Just another reminder that my first linky party starts on Friday! Anything is game! Link your crafts, recipes, and products!

InspiringCreations

Tuesday, February 15, 2011

Food For Thought Tuesday: Chicken Cordon Bleu

This dish is one of our staples at our house. It's something we all enjoy and I usually have the ingredients on hand. I also make a Chicken Cordon Bleu casserole that is just as yummy, but I like to make the real thing on occasion.


Recipe

Chicken Cordon Bleu

4 Boneless skinless chicken breasts
4 slices swiss cheese
4 slices of ham
1-2 cups bread crumbs
1/3 cup parmesan cheese
3-4 eggs
Splash of milk/water
Salt and pepper to taste

Pound out your chicken breasts to the thickness desired. ( I actually just filet my chicken breasts in half because I hate pounding them out) In the center of each chicken breast place your cheese and ham and then roll up your chicken and stick a couple of toothpicks in chicken to secure. In a separate dish put your breadcrumbs and parm cheese, add salt and pepper. In another dish whip up your eggs and water/milk.

Dredge chicken in egg wash, then in breadcrumbs and place in greased casserole dish. Bake at 350* for 30 minutes.

Sauce:
2 cans cream of mushroom soup
1/3 cup parmesan cheese
2 cups sour cream

In a separate bowl combine ingredients until smooth. After chicken has cooked for 30 minutes add sauce in the bottom of your dish and bake another 30 minutes, or until chicken is cooked through.

Serve with sauce. I also like to serve this with roasted potatoes and I like to pour some sauce on my potatoes as well. So yummy! :)

I just wanted to remind everyone that I am starting my first linky party on Friday and I would love for you to link up your favorite things! Anything is game, crafts, recipes, and products!


InspiringCreations


Monday, February 14, 2011

Look what I got for Valentine's Day!

I just had to share what my hubby got me for Love day!


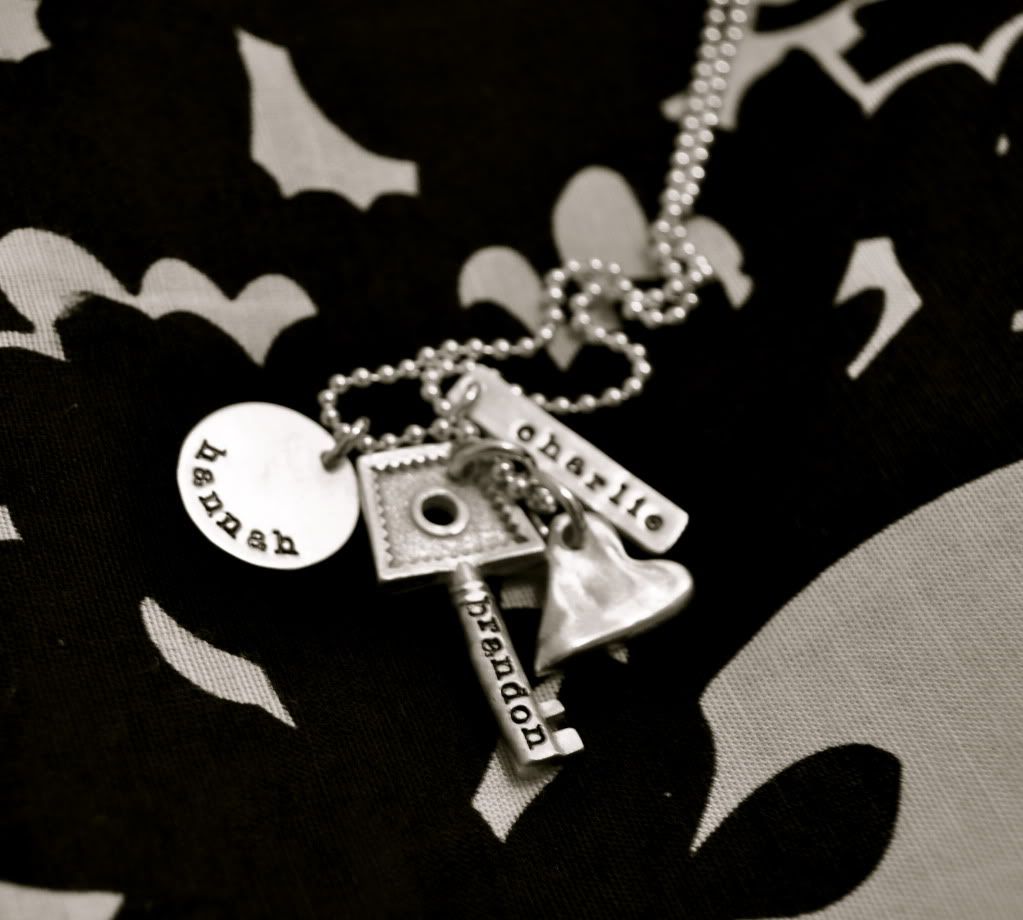
I have wanted this necklace forever!!! It is perfect and it looks even better than I expected. I have tried to win one of these babies whenever she does a giveaway, but I have never been lucky enough to win one. I mentioned to my hubby a little while back that I really wanted one of these necklaces, and he surprised me and bought me one for Valentine's Day! I LOVE it! It is perfect. The thing I love most, is that I could wear this necklace with anything. It is all silver and will match anything I wear.

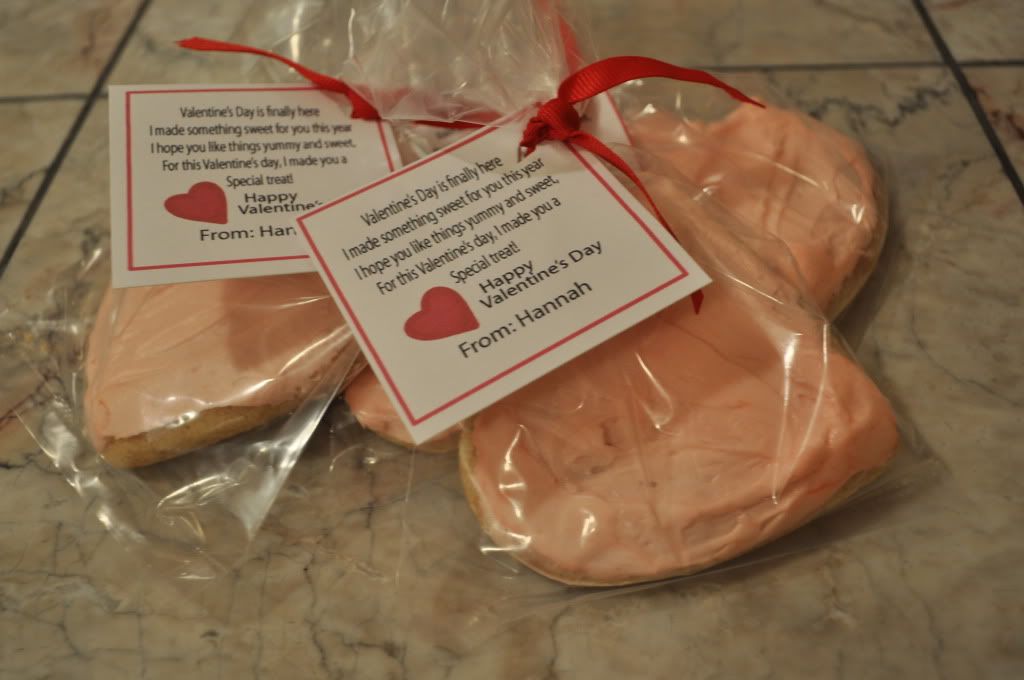
I also wanted to share Hannah's Valentine's she made for her class. We made these cookies and I just made up a little saying to put with them. So easy and yummy!


I am making my hubby a special Valentine's Dinner, my grandmother's Beef Enchiladas....I have never tried to make this so wish me luck! I am also making Sour Cream Cheesecake for dessert! YUM!! :) Recipes to come later! :)

I hope you all have a wonderful Valentine's Day! :)

Friday, February 11, 2011

More pics of Charlie

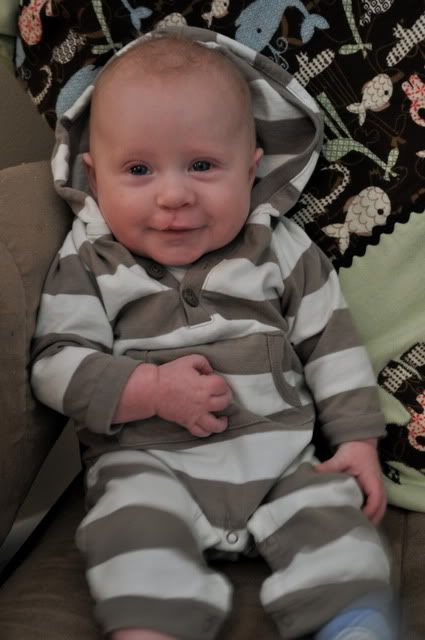
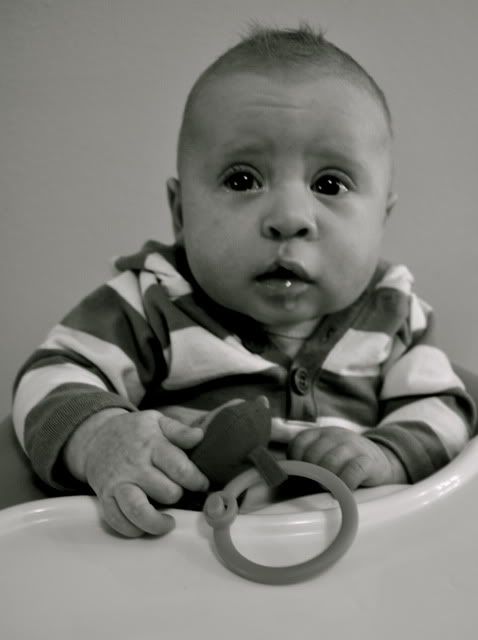
I hope you all aren't sick of me posting pictures of my little guy, but I couldn't resist! :) It will be a month on Tuesday that he had his surgery and Charlie is doing great. He also turned 3 months old last Friday!


Happy Friday everyone! :)

Favorite Things Friday: My button collection and a Linky Party

This is a small glimpse of my button collection. You could probably say that I am obsessed with them. I started to collect them a couple years ago and my collection has grown and is now a little outrageous! :) I love using them and hey, if I ever lose a button on a shirt, I know that I could find a replacement. :)

Photobucket

I love crafting with them and most of my projects have buttons on them.

Some of my favorite button projects:

Vintage puzzle piece magnets Shamrock Tree
When I started doing Favorite Things Friday, I had the intent of making it into a linky party that everyone could enjoy. I wanted to announce that I'm going to start it next week! I am super excited about it, but kind of scared.

I have never hosted a linky party and I don't want it to be a complete failure. So please pass the word around! I don't expect a ton of links, I know it takes a while, so I will consider it a success if I get one link! :)

I want people to be able to share their favorite things. Whether it be their favorite craft they made this week, a recipe, or a product. Anything is game. So start thinking about it and be ready to post next Friday! :)

Here is my button if you want to add it to your sidebar! :)


InspiringCreations


Thursday, February 10, 2011

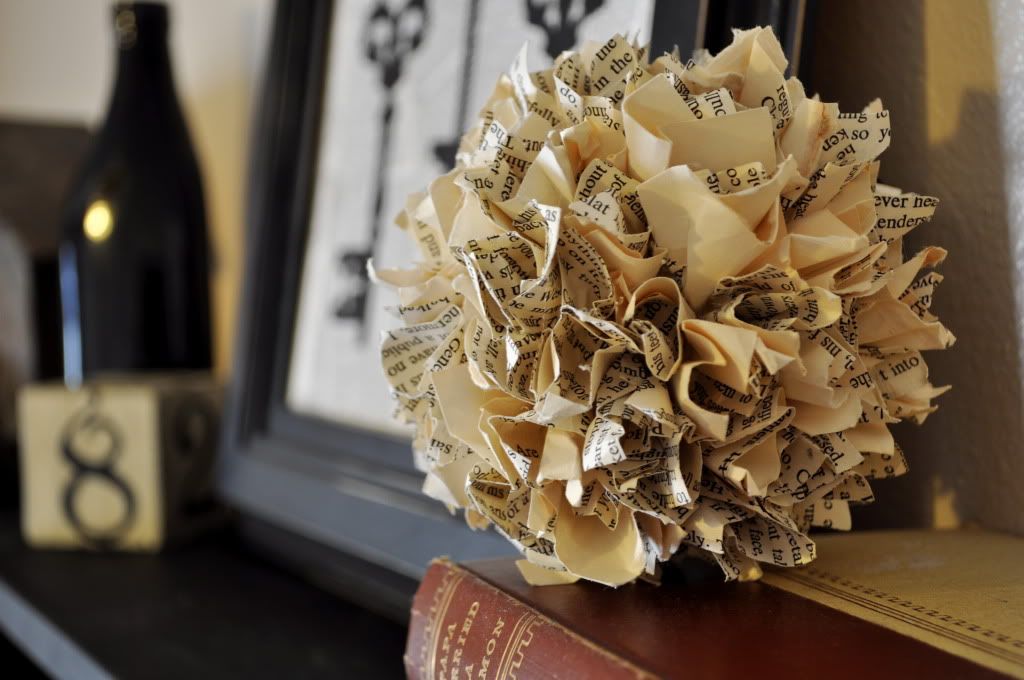
Vintage Paper Ball Tutorial

So this project, may look like a breeze at first glance, but this little stinker took me forever!!! I had to redo it 2 times before I finally figured out how to keep the paper on the ball.

My first attempt I was using a bigger styrofoam ball and I was pushing the paper into the styrofoam. Well 2 hours later I only had half of the ball done and my hand was throbbing from pushing the paper down into the ball. Then, the paper started falling out the other side because I was pushing too hard on the opposite side.

Attempt 2: I got a WAY smaller ball and did the same thing, but the paper kept falling out!

Attempt 3 I finally figured it out. The tutorial is below. :)

Photobucket

Supplies Needed:

Styrofoam Ball (i used 2.5")
An old book
Hot Glue
Pencil

Some tips before you start:

1. Cut out A LOT of paper. I kept running out and I had to recut more paper like a hundred times! :)

2. Have someone help you. It will go TONS faster if you have someone controlling the hot glue gun. This way you don't have to keep putting your glue down and your pencil and paper every single time.

Step 1: cut out your papers. I did mine about 2" x 2" Try and get them roughly the same size

Step 2: Wrap your paper around your pencil (don't use the sharpened side)
Step 3: Put some hot glue on your styrofoam ball

Step 4: Put your paper down and hold down with pencil until it will stay in place


Step 5: continue step 4 until your whole ball is covered. The more papers you do the more full it will be. I tried to get mine as full as possible


That's it! It really isn't that hard, but it took a lot longer than expected. If you have someone to help you, then it will go by WAY faster! :)


Photobucket

I am participating in