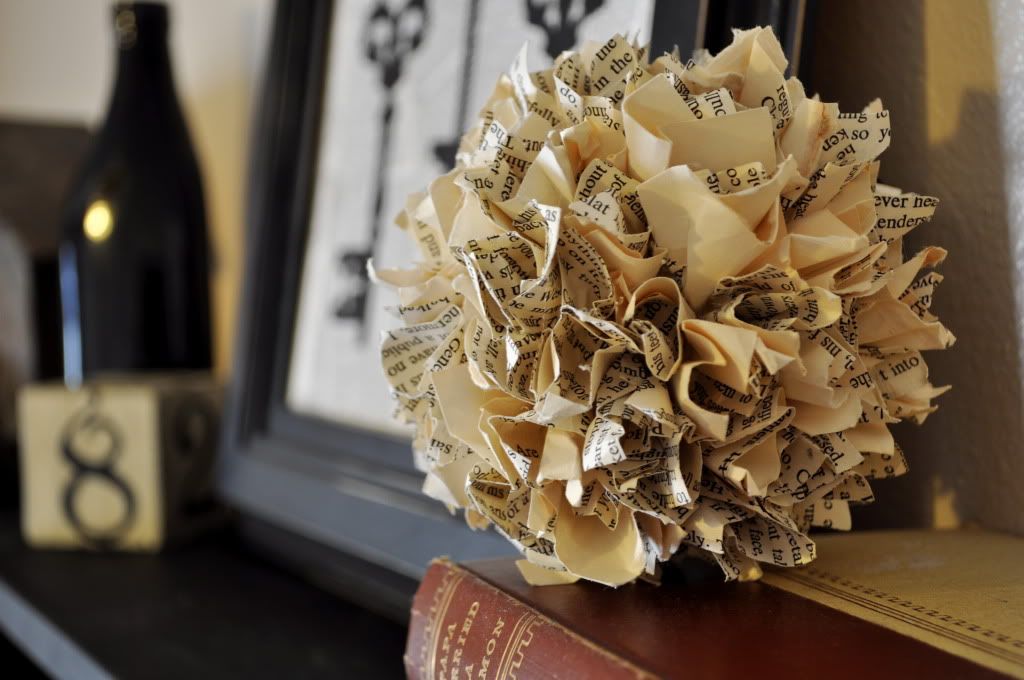
So this project, may look like a breeze at first glance, but this little stinker took me forever!!! I had to redo it 2 times before I finally figured out how to keep the paper on the ball.
My first attempt I was using a bigger styrofoam ball and I was pushing the paper into the styrofoam. Well 2 hours later I only had half of the ball done and my hand was throbbing from pushing the paper down into the ball. Then, the paper started falling out the other side because I was pushing too hard on the opposite side.
Attempt 2: I got a WAY smaller ball and did the same thing, but the paper kept falling out!
Attempt 3 I finally figured it out. The tutorial is below. :)

Supplies Needed:
Styrofoam Ball (i used 2.5")
An old book
Hot Glue
Pencil
Some tips before you start:
1. Cut out A LOT of paper. I kept running out and I had to recut more paper like a hundred times! :)
2. Have someone help you. It will go TONS faster if you have someone controlling the hot glue gun. This way you don't have to keep putting your glue down and your pencil and paper every single time.
Step 5: continue step 4 until your whole ball is covered. The more papers you do the more full it will be. I tried to get mine as full as possible
That's it! It really isn't that hard, but it took a lot longer than expected. If you have someone to help you, then it will go by WAY faster! :)
I am participating in


11 comments:
I love this! I'm adding it to my to do list! Thanks for sharing the best way!! :)
Beautiful!!
www.laforcebewithyou.com
I remember doing that pencil/glue technique in school to make a rainbow. It also took forever, but was so worth it to have a big ol' puffy picture in the end :)
Love the way it looks as a decor ball too - great job!
~ Emily N. from "too Blessed to Stress"
I wonder if attaching the paper with straight pins would be easier? I'm still recovering from the book page wreath I made at Christmas, so I feel your pain!
Awesome!!!
hugs from Brazil
Thanks for sharing....I think this is my favorite paper project that I've seen! Good job....
Blessings,
Susie
This is adorable and perfect for any room! Thank you for sharing. I will definitely be trying this one!
Very easy and cute. I may have to try this!
that is awesome! I have a bunch of old books. I may have to try it. I have done it with tissue paper to make topiaries but never book pages!
The Treasurista said...
Hop on over to the Party! Would love for you to link-up @
http://thetreasurista.blogspot.com/p/treasuristas-thursday-treasures-come.html
The Treasurista
Finding and Creating FUN things...
I LOVE this! Lil Luna posted this on her page, I am now a follower of your blog. I will be making a few of these this week~ Thank you so much for sharing!
Post a Comment