We had Hannah's Birthday Party over the weekend and it turned out great! I just wanted to share some of the things I made for her party!


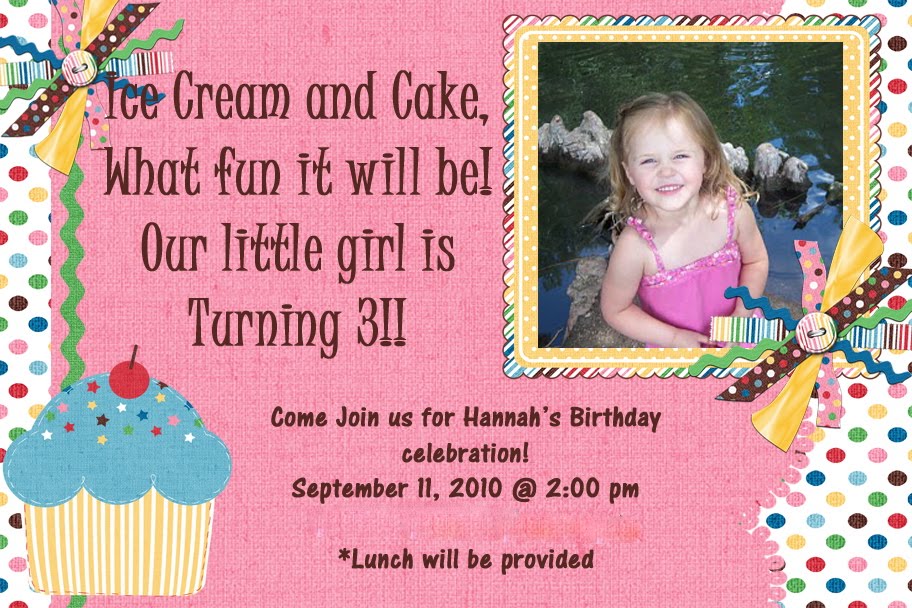
Birthday Invitation:
I made this using photoshop and a digital scrapbooking kit I found online! You can find the kit
here:
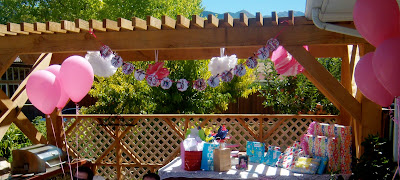
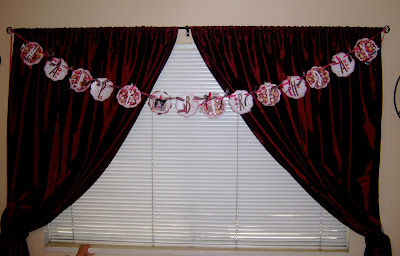
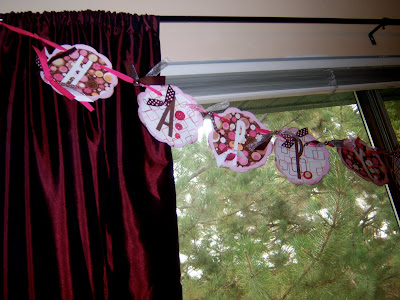
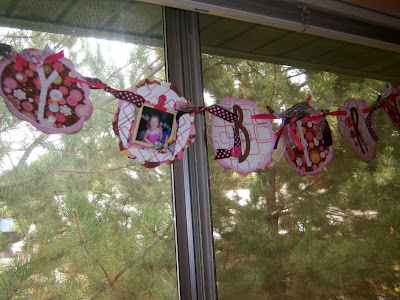
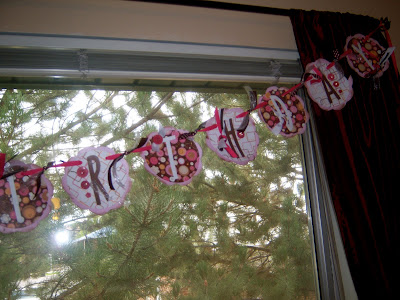
Birthday Banner:
Here is a closer picture of the banner....I forgot to get pictures of it at the party! :)
I made this banner using my cricut machine! I cut everything out and then all I had to do was mod podge everything together. I added lots of ribbons and buttons to make it very girly!
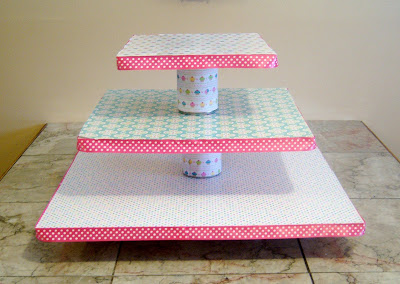
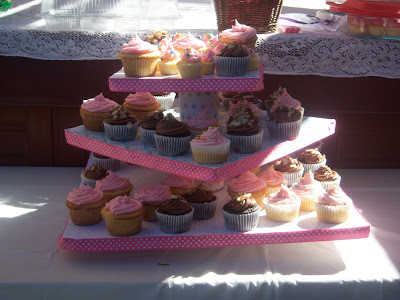
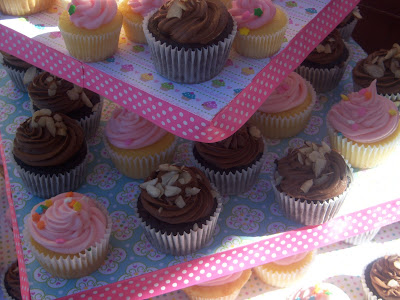
Cupcake Stand:
I found
this tutorial to make a cupcake stand. I made it my own by using foam board and using squares instead of circles. The dimensions I used are the following:
Bottom 20" x 20"
Middle 15" x 15"
Top 10" x 10"
I mod podged scrapbook paper to each layer and also mod podged paper onto my cans.
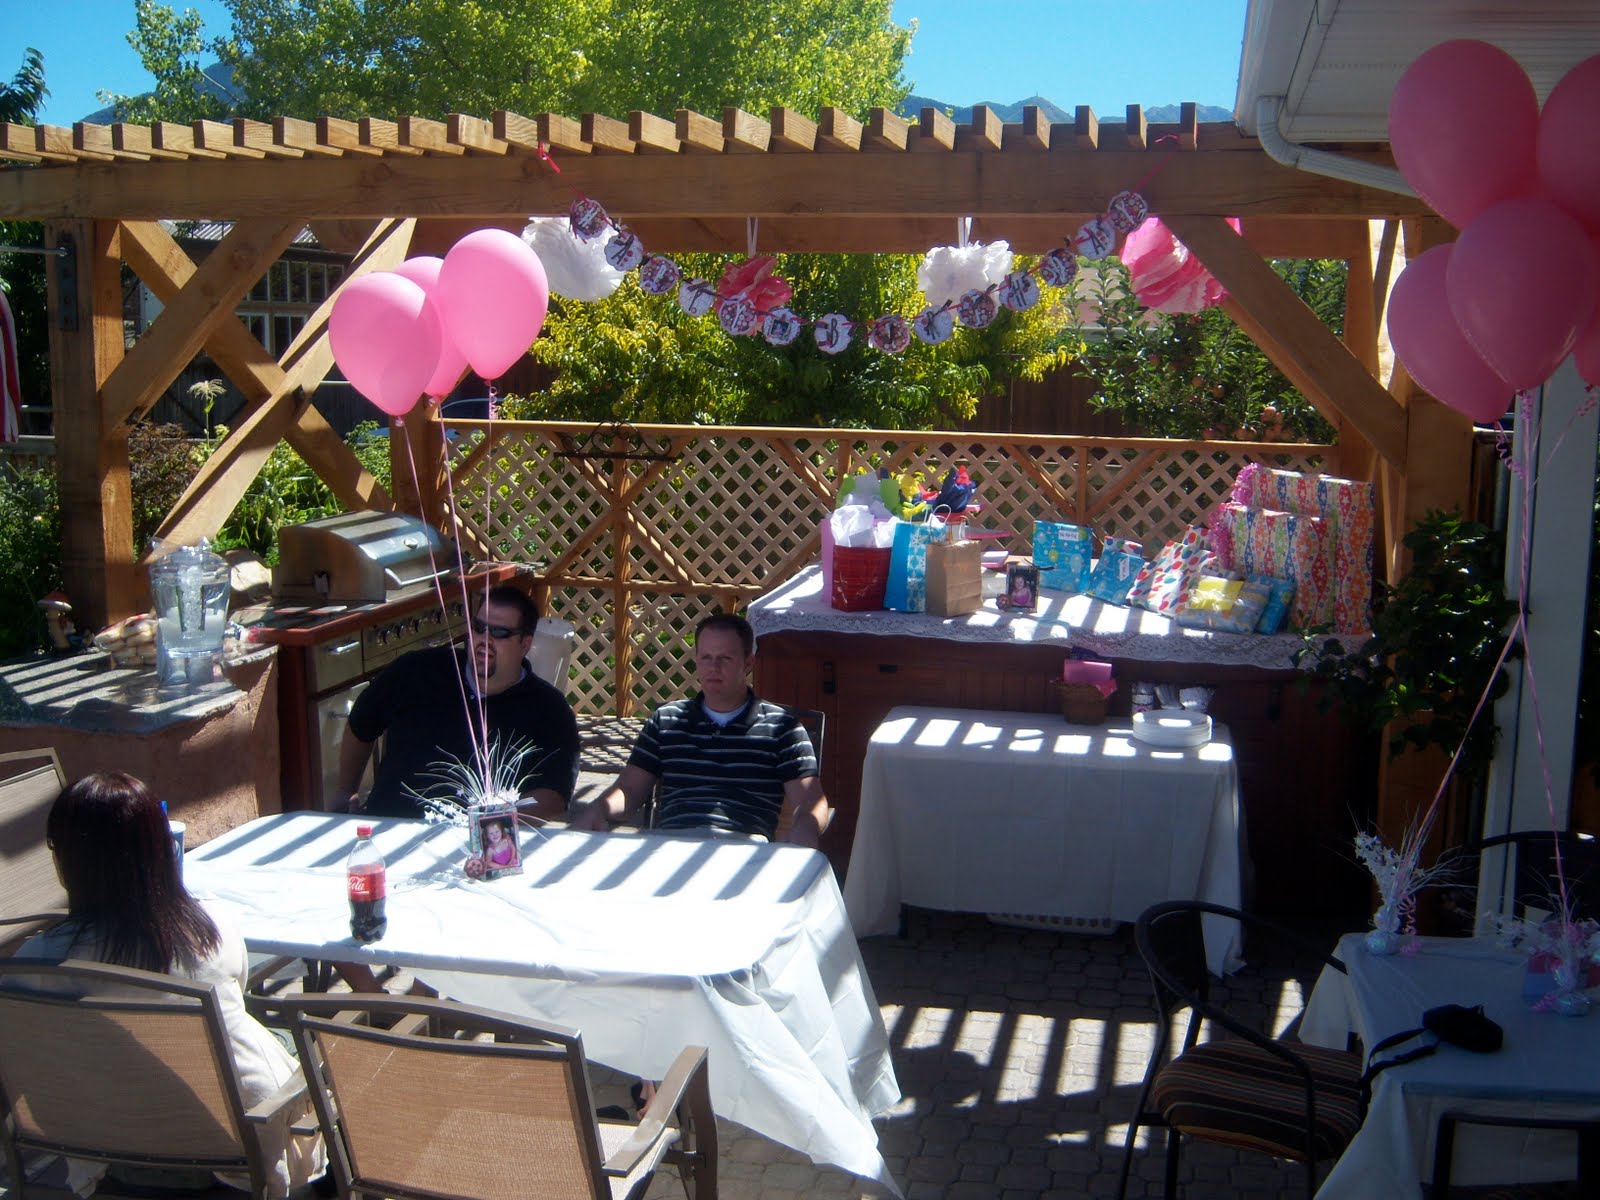
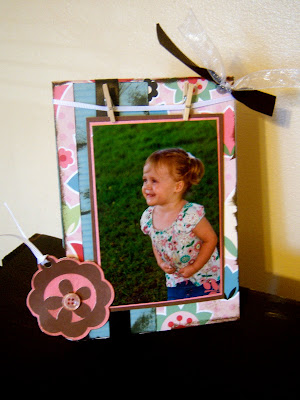
Center Pieces:
Go
here to read about the frames. To add a little more I bought some dollar store balloon weights and had three pink balloons on each weight. They turned out great!
Party Favors:
I made white chocolate popcorn for the party favors...and forgot to give them out!! So half of her guests got them and half of them didn't! :) You can go
here to read about how to make the popcorn!
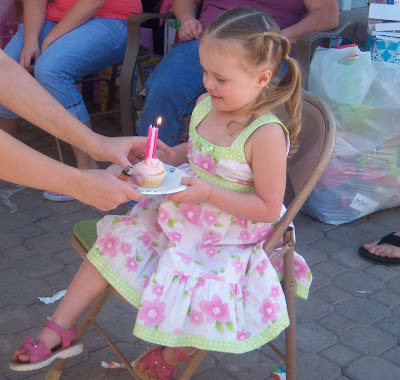
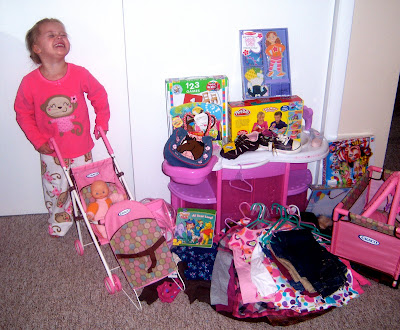
Hannah had so much fun this year opening presents! I can't believe she is already 3!
Here is the birthday girl after her party showing off all of her new toys and clothes!! She is one spoiled little girl.
Now that it is all said and done, I have to say that planning a party is A LOT of work!!! It was a ton of fun to make everything, but man I didn't realize how much work it would take. I made almost everything homemade which took a lot more time, but the great part was that it didn't cost me a ton of money! Which was a huge plus!! I'm sure if I were to buy all the decorations and party favors it would have cost me a fortune.
It was so much fun though and I wouldn't change a thing.....well scratch that....I would have remembered to give out the party favors! :)


