Monday, November 23, 2009

Thanksgiving Place Cards


I can't believe Thanksgiving is this week! I love Thanksgiving, it is one of my favorite Holidays. If you are still looking for a place card idea. I made this turkey place card for our Thanksgiving table this year.


It was really simple to make. To make the turkey, you just layer circles together until you have about 5 circles. Then cut out your body with brown paper and glue on top of the circles. Embellish the rest of the card with whatever you have on hand. I just glued on some buttons and ribbons to finish mine off.


On a side note, I am no longer in the SYTYC competition. However there are still 7 wonderful ladies still in the competition! So go vote for your favorite craft this week! Vote here!

Monday, November 16, 2009

Rag Wreath Tutorial


I have wanted to make a homemade wreath for a long time! I finally found the time to make a "rag" wreath and I love it! It was so easy and simple, anyone could make one of these.


Supplies Needed:

12 inch wire wreath
8-10 Assorted fabrics/ribbons
(I probably used about 1/4 yard of each fabric and a couple yards of ribbon to complete this wreath)


Step1: Cut out your fabric strips into about 1 inch thick by 6-8 inches long. The easiest way to do this is snip the fabric and then rip it. I used burlap as well, but you can just rip burlap so I had to cut it and I also had to cut the ribbon.


Step 2: Tie a piece of fabric on your wreath in a double knot. Continue until your wreath is very full.


I love how it turned out and I love how it is so simple to make! I might just have to make another one!


For other handmade craft ideas check out Today's Creative Blog!


Week 3! Go Vote


I'm still in the competition! Go vote for your favorite green craft!


My "leaves" craft was the burlap tree frame! Thanks for all that voted to keep my in the competition!


Saturday, November 14, 2009

Button Trees


I love using buttons and my new favorite love is burlap! I used both of these things in creating this fall decoration. I got the frame at my local goodwill store for like 2 bucks. The trees are super easy to make and the leaves are just made from buttons. The background is burlap, which is my new favorite thing! You can use burlap to spruce up any project you are doing and it gives it a rustic, but clean look.


Friday, November 13, 2009

Blow Swap! Sumo's Sweet Stuff

Hello Inspired Readers!

I'm Summer, or Sumo as my husband lovingly calls me. (And now consequently has all of my family calling me. Doesn't Aunt Sumo have a nice ring to it?)
I'm the blogger from Sumo's Sweet Stuff!

Sumo's Sweet Stuff

I use my blog to share my projects, tutorials, recipes, host giveaways, and shamelessly promote my etsy shop!

I AM:

- married to my best friend
- mother to the most beautiful baby girl (and a babe on the way!)
- daughter and sister to the best family ever

- friend to some of the greatest people out there


I LOVE TO:

- play piano

- sing
- read
- craft

- go on walks
- spend time with my family
- drink Diet Coke

- bake/cook

- exercise (well, sometimes)
- crochet


SOME OF MY FAVORITE THINGS:

- Diet Coke

- popcorn

- chips and salsa

- anything that involves peanut butter and chocolate

- public library

- fall

- craft stores

- black and green

- Christmas

- historical fiction
- cats

I love crafting and creating. Here are some of the tutorials you can find on my blog.

Photo Blocks

Seasonal Wood Board

Appliqued Onesies

I also really love to bake! Here are a few of my favorite goodies to make.


White Chocolate Cheesecake Cookies
Chocolate Peanut Butter Cupcakes
S'mores Cupcakes

I have an
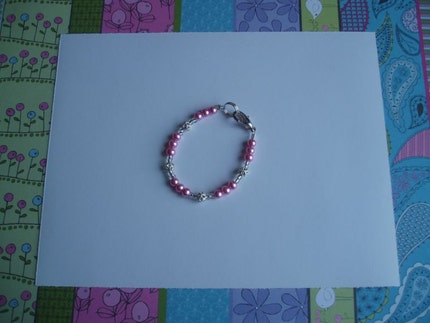
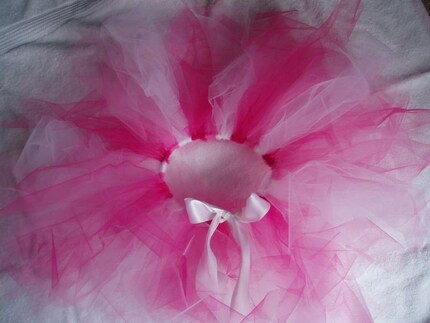
etsy shop where I sell all things baby girl!

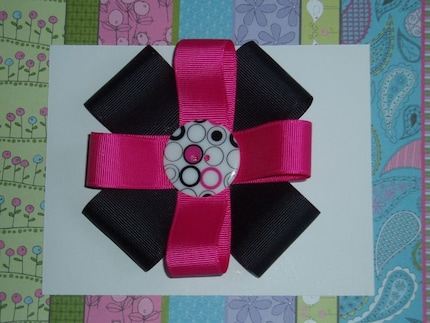
You can purchase hair bows....


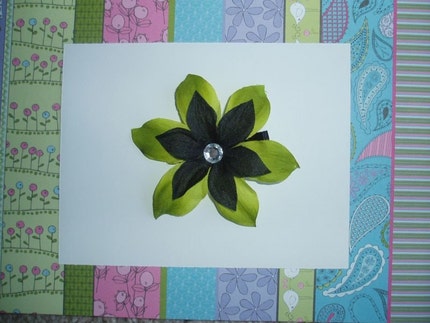
flower clips....


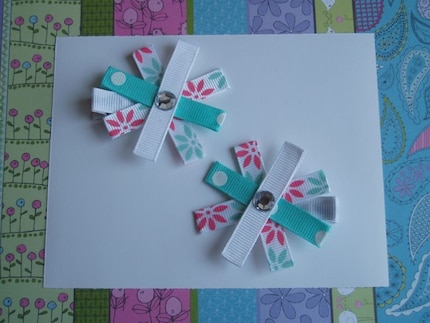
piggies....


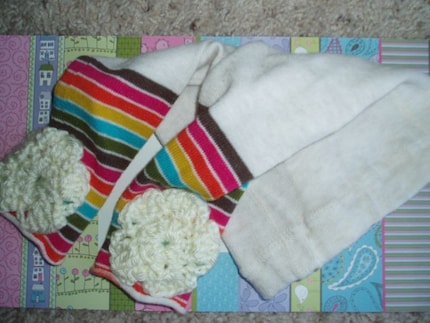
crocheted flower leggings....


bracelets....


a set with a little bit of everything....


or even a tutu!

I have blog schedule, so you can find something different being posted every day of the week!

I'll be featuring some fun Christmas tutorials coming up, so come take a peek to get some great Christmas ideas!

I'm also looking for inexpensive holiday gifts to feature. They can be handmade, from your etsy shop, or just an idea you had that comes from a store! Send them to me at [email protected]

Come on over to Sumo's Sweet Stuff and let's be blogging friends!

Thanks for swapping with me today Lindsey! I feel so honored!

Tuesday, November 10, 2009

Harvest Topiary

When I found out the first theme of S.Y.T.Y.C I was really excited because fall is one of my favorite time's of the year and I just love all of the fall colors! When I started brainstorming what I was going to do I just kept thinking that I really wanted to showcase those beautiful fall colors and really represent the theme "harvest" all at the same time.

So this Harvest Topiary is what I came up with! This topiary is the perfect way to spruce up your home with the feel of fall! It even smells great, instead of using a dowel for the center of the topiary I used cinnamon sticks! Clever huh? This project is not only fun to make, it will remind you of the fall's harvest every time you look at it!

Hope you enjoy.

Harvest Topiary


Okay, let's get started!!

Supplies Needed:
Terra Cotta Pot (or any other medium sized pot you have)
Barn Red paint
Black paint
Distressing ink
Floral Foam
Floral pliers
Cinnamon Sticks (the long ones)
Floral Moss
Faux pumpkins, apples, flowers, leaves.
( I used about 4 pumpkins and 2 apples and 6-8 acorns. You can find these at any craft store. I got mine at Robert's Arts and Crafts. For the flowers I bought three different stems and the leaves I just got off of a fall garland.)
1 1/2 yards of ribbon


Step 1: Paint your pot with the red paint. You might need to do a couple of coats. I did two coats.


Step 2: When your red paint is dry apply with a dry brush some black paint and wipe it off quickly with a paper towel. Do this until you get the color that you want. I also rubbed some dark brown distressing ink all over it as well and rubbed it off until I got the color I wanted.


Step 3: Insert some floral foam in your pot. This holds your cinnamon sticks in place and keeps it steady.


Step 4: Use about 5 long cinnamon sticks and tape them together at the top and bottom. I did this just so they would stay together. You will not see the tape once you've added everything else.


Step 5: Use more floral foam and create a sphere-like shape. (you can definitely buy the already round floral foams, but I didn't have one on hand I just had a rectangle one so I just cut it into the shape I wanted.) Insert your ball of foam on the top of your cinnamon sticks. Make sure you center the foam so that you don't have a lopsided topiary!


Step 6: Start inserting your flowers, leaves, pumpkins, acorns, apples...etc. (you might have to hot glue some of your pumpkins or apples on) You can seriously just start placing them everywhere and I promise it will come together. Just try to keep it in a ball like shape.


Step 7: Place your floral moss all over the top of the pot. You don't have to hot glue this in or anything, just lay it in there until you've covered it completely.


Step 8: To finish it off you will tie a piece of ribbon around the center of your cinnamon sticks into a bow. You then will wrap the rim of your pot with ribbon and tie a knot.

You're Done!

Thursday, November 5, 2009

Autumn Tin


I just wanted to let everyone know that I am still here! It has been a very hectic couple of weeks around here and I promise I have been crafting but it's mostly been for So You Think You're Crafty, so I can't really show you anything! Can I just say this competition is tough!

But, I did just make this autumn tin out of a really ugly Christmas tin I found at the dollar store! I really liked how it turned out and I can't wait to buy more tins and re-do them!

I love crafting, but I don't like to spend a ton of money so I try and keep the projects I make as simple and affordable as possible. I have found if you have these few crafting essentials then you can make just about anything!
*Scrapbooking paper.
I probably have thousands of sheets of different scrapbooking paper. I try to only buy it when it's on sale so I don't end up spending a fortune!
*Ribbon
I LOVE ribbon. It's a great embellishment for any project and I also only buy ribbon when it's on sale. The type of ribbon I use the most is grosgrain.
*Buttons
I don't think it's any secret that I love using buttons! I LOVE buttons! I can't buy enough of them! They really make any project I am doing better and more finished looking.
*Mod Podge
I love using Mod Podge. It is so easy to work with and makes glueing paper on surfaces sooo much easier! The type I use the most is the matte finish.
*Distressing Ink
I am a big fan of making things looked distressed and used. I love using distressing ink, and when I don't have distressing ink I just use some paint and a dry brush to get the same effect.
*Hot Glue
Okay, I have a love hate relationship with hot glue but it makes glueing buttons, ribbons, and other embellishments soo much easier.

I know I have been a total slacker lately, but I am going to try to post more often! I don't know how people update their blogs once a day! I am so jealous of them!
Anyways, I hope everyone has a great weekend!

Monday, November 2, 2009

S.Y.T.Y.C


I just wanted to let everyone know that the competition has officially started!!! The first theme is "harvest." So go on over to So You Think You're Crafty and VOTE for your favorite harvest craft!